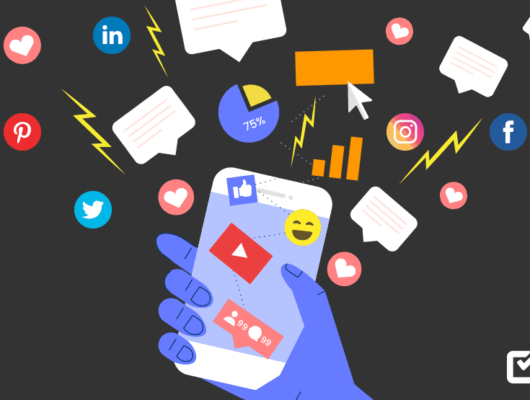
In today’s data-driven marketing landscape, understanding your audience’s behavior is crucial for success. Facebook Pixel is a powerful tool that allows you to track user interactions on your website, optimize your ads, and measure the effectiveness of your campaigns.
In this article, we’ll walk you through the process of setting up Facebook Pixel on your website, ensuring you get the most out of your Facebook advertising efforts.
What is Facebook Pixel?
Facebook Pixel is a piece of code that you place on your website to collect data on your visitors’ actions. This data helps you:
- Track Conversions: Measure actions like purchases, sign-ups, and downloads.
- Optimize Ads: Use collected data to refine your ad targeting and increase ROI.
- Build Custom Audiences: Retarget users who have already interacted with your website.
Why You Need Facebook Pixel
Whether you’re running a small business or managing a large e-commerce site, Facebook Pixel is essential for:
- Better Ad Targeting: Reach people who are more likely to convert based on their past interactions.
- Detailed Analytics: Gain insights into how your ads are performing and where improvements can be made.
- Retargeting Capabilities: Serve ads to users who have visited your website but didn’t complete a desired action, increasing the likelihood of conversion.
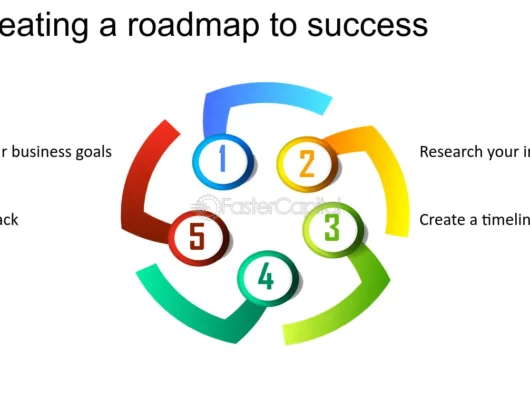
Step-by-Step Guide to Setting Up Facebook Pixel
Step 1: Create a Facebook Pixel
- Why It Matters: Before you can start tracking data, you need to create your Pixel.
- How to Do It:
- Go to the Facebook Events Manager.
- Click on “Connect Data Sources” and select “Web.”
- Choose “Facebook Pixel” and click “Connect.”
- Enter a name for your Pixel and your website URL, then click “Continue.”
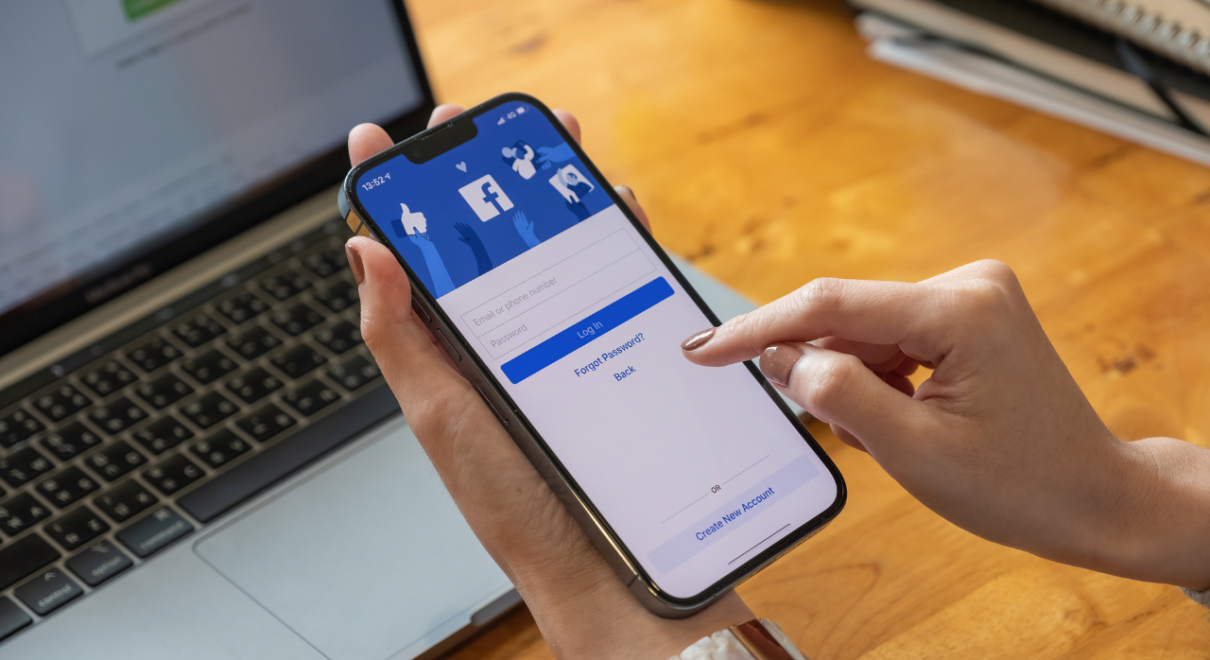
Step 2: Add the Facebook Pixel Code to Your Website
- Why It Matters: The Pixel code needs to be placed on your website to start tracking data.
- How to Do It:
- In the Events Manager, choose the option to “Install Code Manually.”
- Copy the Pixel code provided by Facebook.
- Paste this code into the header section of your website’s HTML, just before the closing
</head>tag. - If you’re using a CMS like WordPress, you can use a plugin like “Insert Headers and Footers” to easily add the code without modifying the HTML directly.
Step 3: Set Up Events
- Why It Matters: Events track specific actions on your website, such as purchases or form submissions.
- How to Do It:
- In the Events Manager, click “Add Event” and select “From the Pixel” to track standard events like purchases, leads, or sign-ups.
- Use Facebook’s Event Setup Tool to automatically track events without additional code.
- For custom events, manually add event codes to your website where the specific actions occur, such as on a confirmation page after a purchase.
Step 4: Test Your Pixel
- Why It Matters: Testing ensures that your Pixel is correctly set up and tracking data as expected.
- How to Do It:
- Install the Facebook Pixel Helper Chrome extension.
- Visit your website and check the Pixel Helper to see if the Pixel is firing correctly.
- Use the Test Events tool in Facebook’s Events Manager to simulate user actions and confirm that the correct events are being tracked.
Step 5: Monitor and Optimize Your Pixel Data
- Why It Matters: Regular monitoring and optimization help you make the most of the data collected by your Pixel.
- How to Do It:
- Check the Events Manager regularly to review the performance of your tracked events.
- Use the data to create custom audiences for retargeting or lookalike audiences for finding new potential customers.
- Adjust your ad strategy based on the insights you gain from the Pixel data.
Troubleshooting Common Issues
- Pixel Not Firing: Ensure the Pixel code is correctly placed in your website’s header.
- Duplicate Events: Check that the event code isn’t placed multiple times on the same page.
- No Data Showing: Confirm that your website is receiving traffic and that the Pixel is active in the Events Manager.
Conclusion
Setting up Facebook Pixel is a crucial step in maximizing the effectiveness of your Facebook advertising campaigns. By following this step-by-step guide, you can ensure that your Pixel is correctly implemented and tracking the actions that matter most to your business.
With the insights gained from Facebook Pixel, you’ll be able to make data-driven decisions that enhance your ad targeting, improve conversion rates, and ultimately drive more revenue.